How to Install an Elfa Bookshelf
Happy New Year Friends!
This is my first post of 2021 {yay} and I’m so excited to show you the before and after of our new Elfa Bookshelf from The Container Store! The annual Elfa sale is going on right now and you won’t want to miss it. It’s a good one. Also, I’m going to link everything that I used at the end of this post to make it easier to shop.
Here’s the story.
I chose the Birch Color.
I can’t believe how much this changed the feel of the whole room.
This room has been a few different things since we’ve lived in our home….a nursery for our baby grandkids to sleep in, then a playroom, then an extra bedroom when Mark’s mom came for an extended visit, and now my husband’s study room.

The sorry before lol

This was always a temporary situation.
The room is pretty small and the dimensions are hard to decorate around as there is an offset window in the room. This tiny bookshelf was temporarily there to hold the TV and a few books. The bookshelf was seriously under sized but it was what we had at the moment (it goes with my son’s bedroom set).
So, When The Container Store approached me to do an Elfa Project this month, I was like “YES”, I know exactly what I want to do! I’ve always had a hard time with this room, and now I had a vision.
What I love about the Elfa System is you can install yourself or have The Container Install it for you {like we did for our GARAGE wall last summer}. We decided this wall was something we could tackle on our own.
What a huge difference this made!
Step 1
The first thing we did was measure to find the center of the wall where the bookshelf would be, and marked the studs. The beauty of the elfa top track is it’s the only place you’ll make holes in on the whole wall! Everything else hangs from the top track. Makes it easy to take the Elfa with you too if you ever move. Patch a few holes and off you go!

My handy hubby. All I needed help with was this top bracket.
Step 2
My hubby helped me install the top track, it was so easy. {The kit comes with everything you will need-except a drill lol!} Then I was able to do the rest on my own.
You can custom design the shelves to be wherever you want them to be, plus they are so easy to adjust if your needs change. I knew for sure that we needed a spot for the TV to set on, then I designed and styled the bookshelves around it.
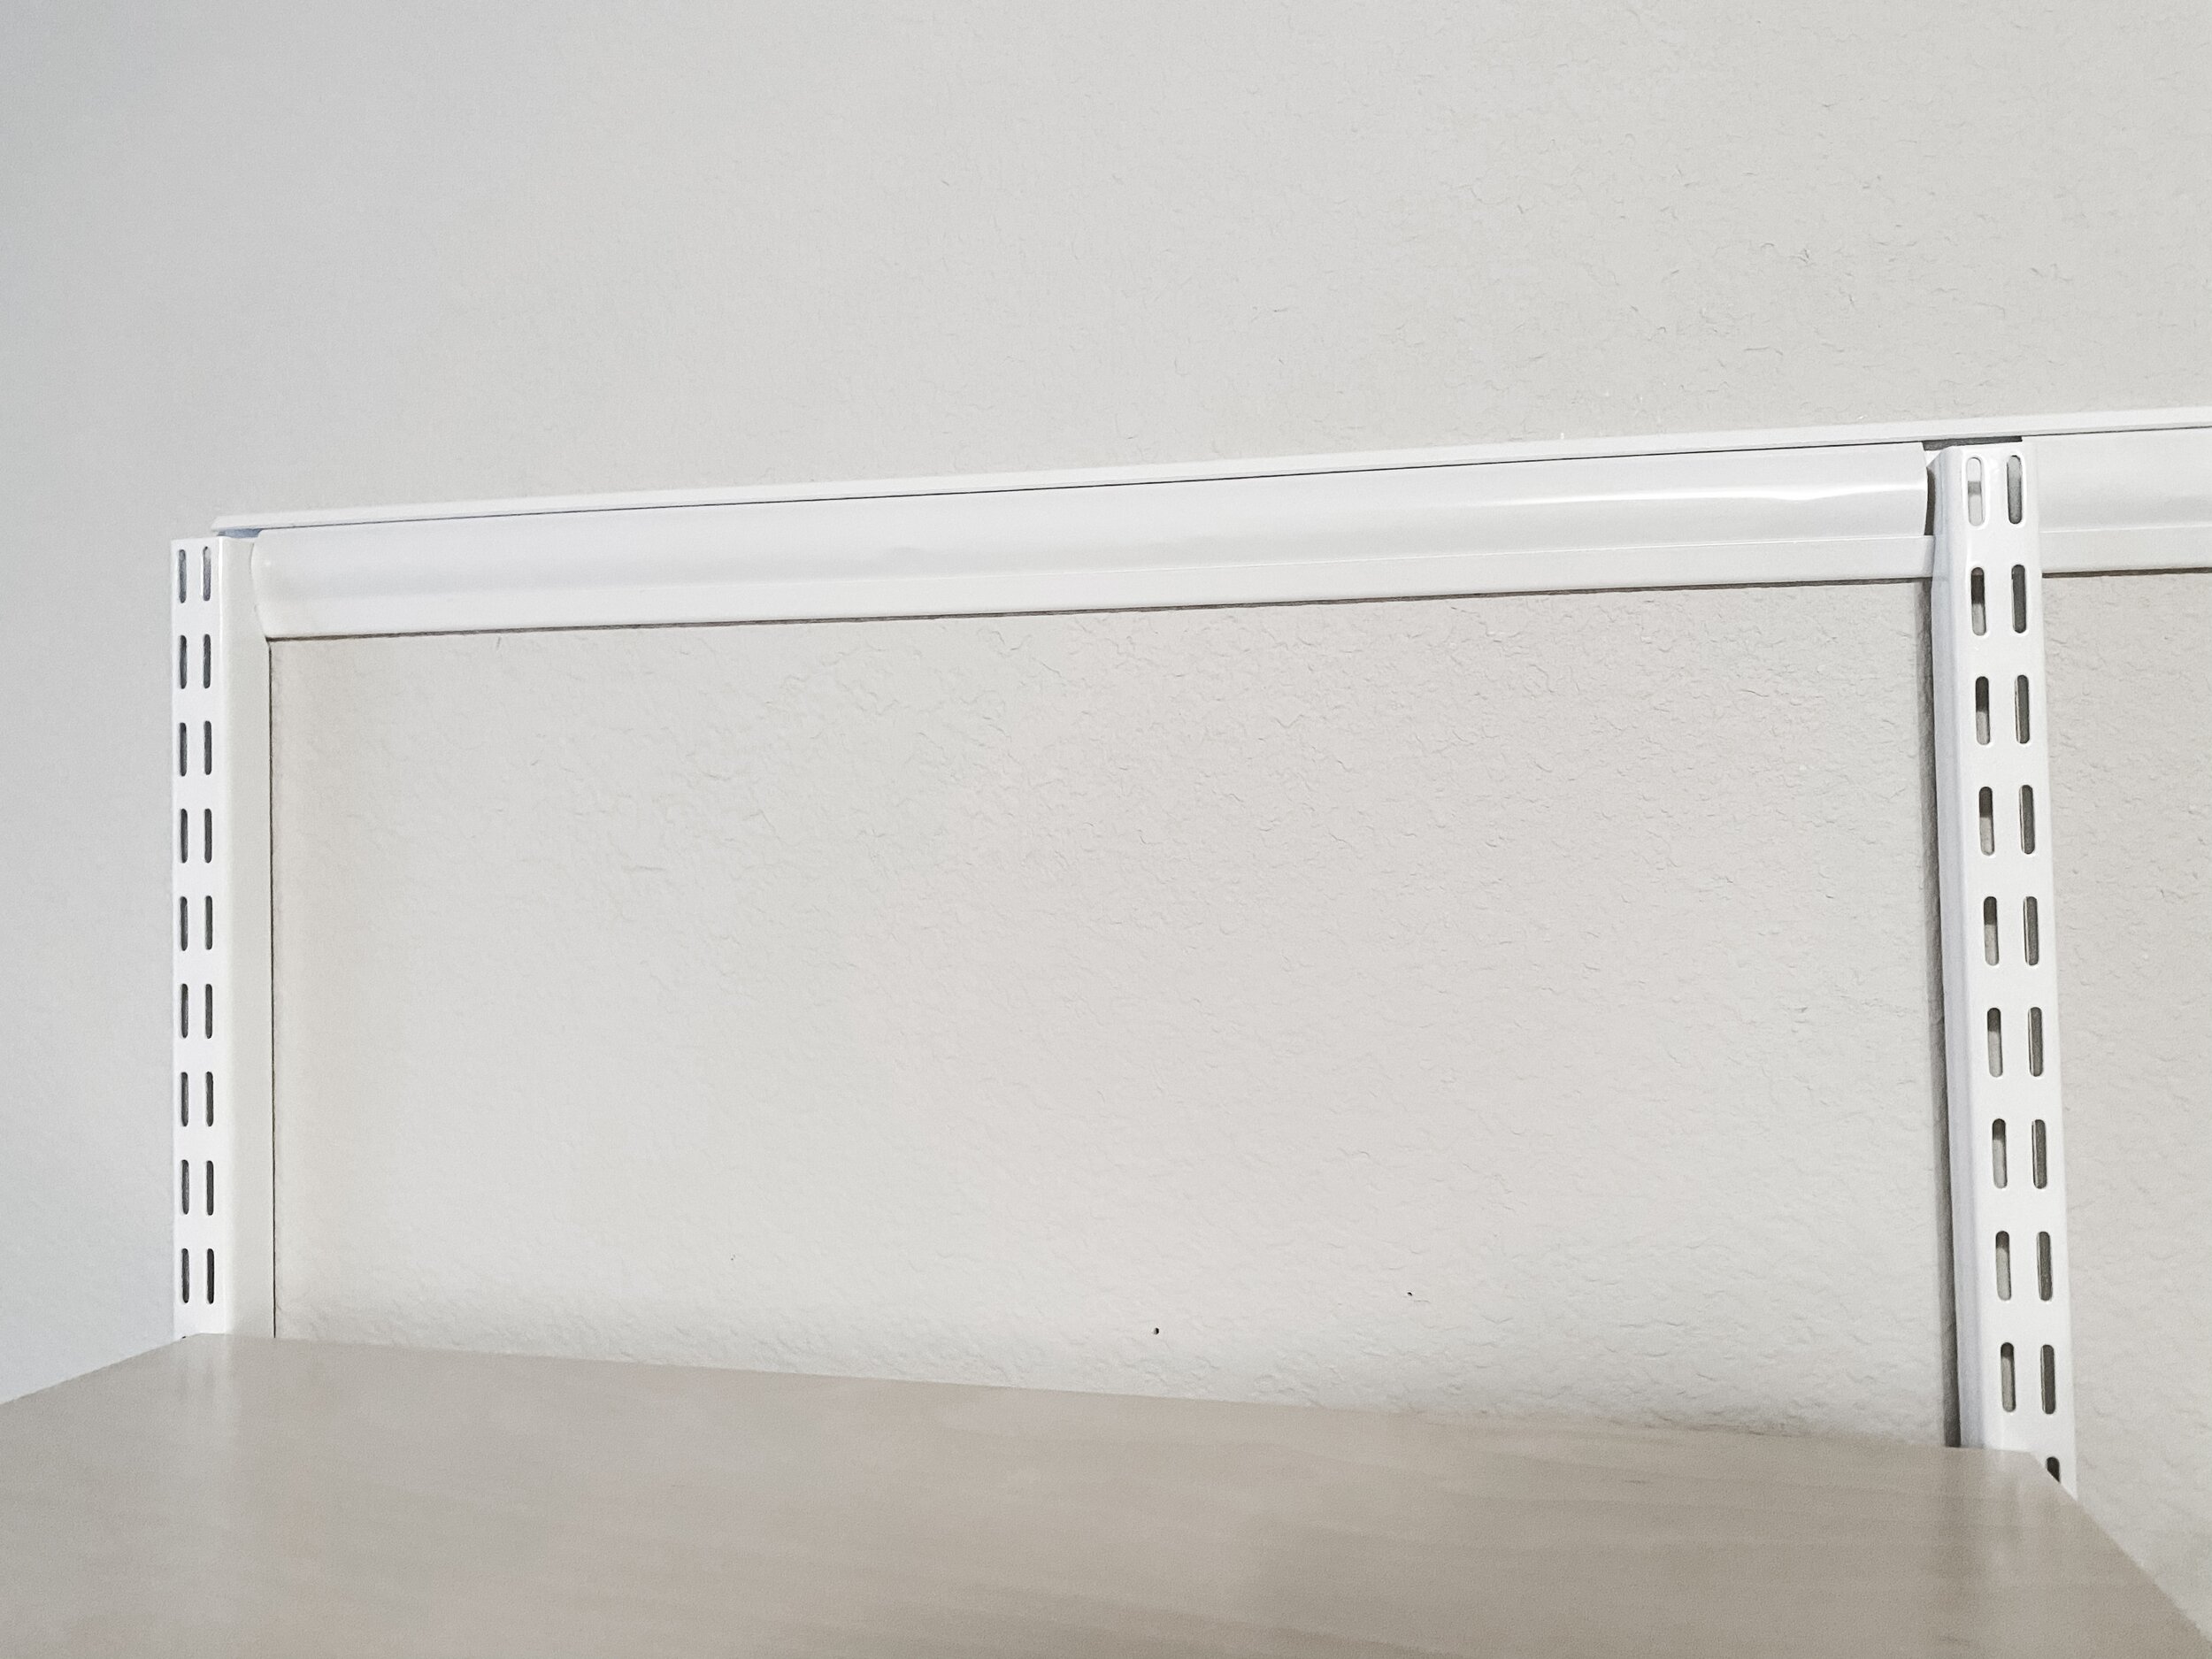
I love the top track cover to hide the screw holes.
You can see here that all the standard bars hang from the top track. Elfa makes a top track cover which I love! Covers up the screws and creates a more finished look. They also make a standard track cover to hide all the shelf bracket notches. (pro tip: wait until you are all done designing and moving the shelves around before you cut the covers.)
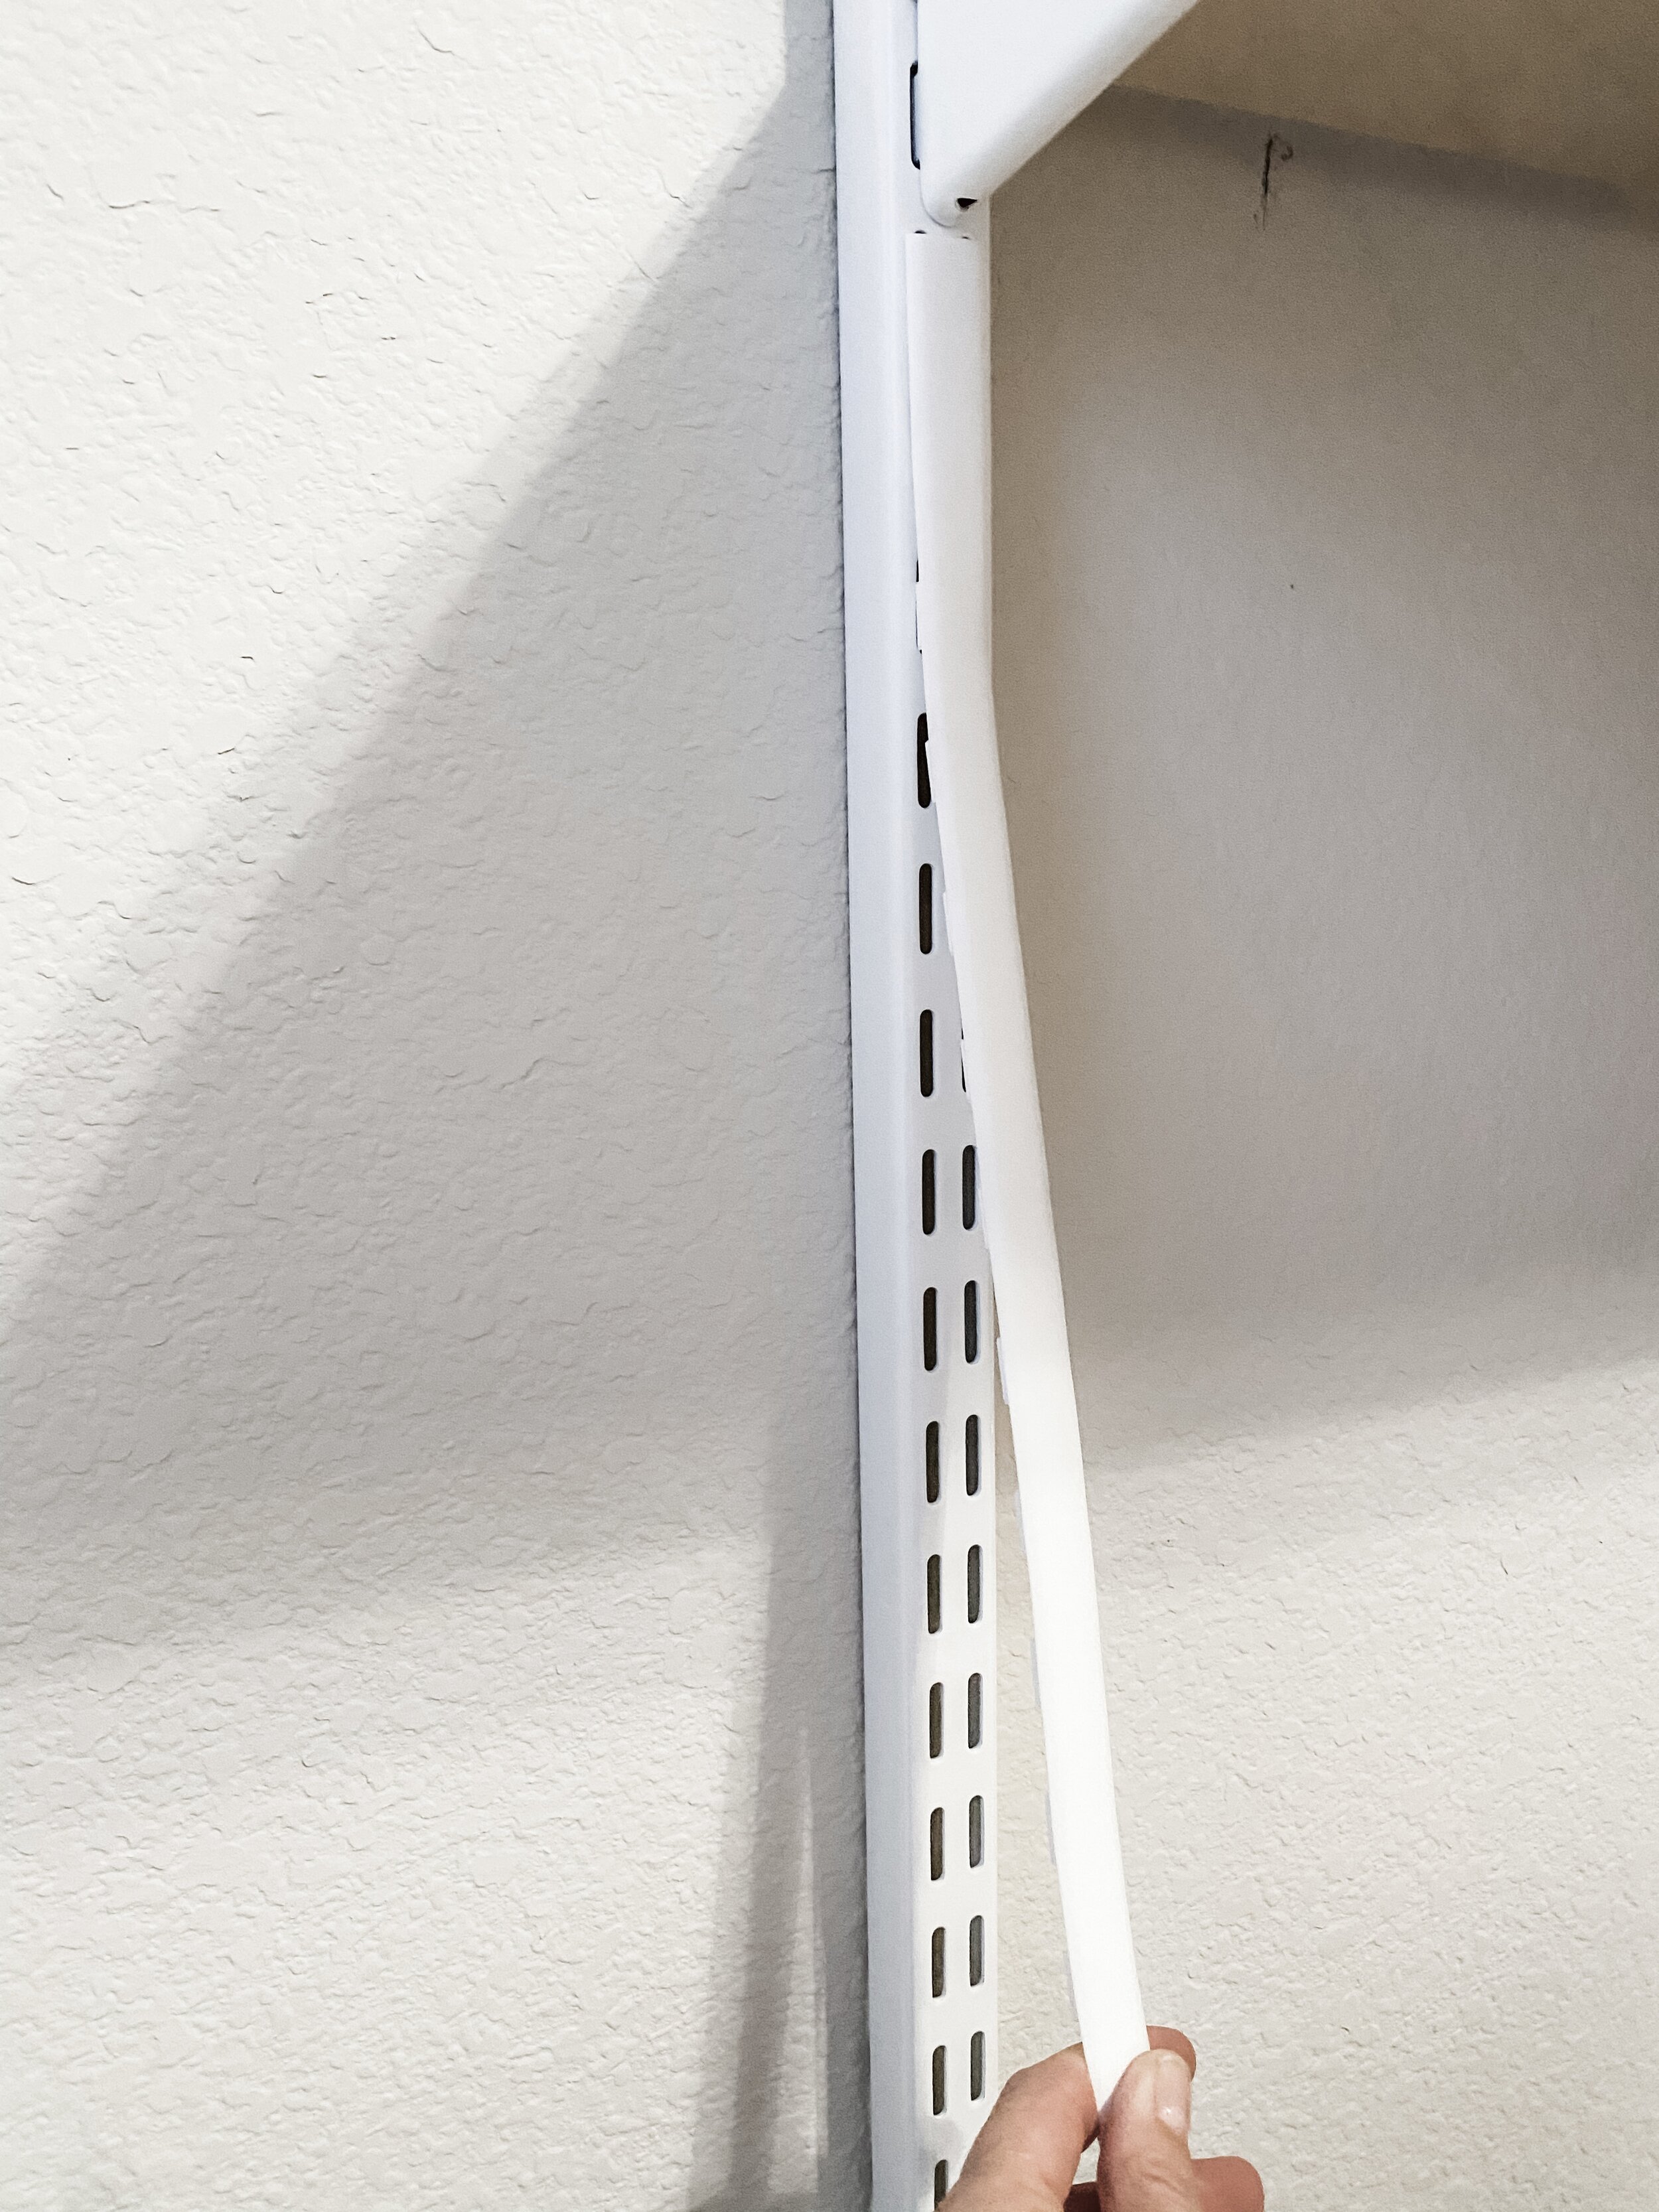
This cover hides all the bracket notches making it look more finished.
Before I added the brackets and bookshelves I patched and painted all the marks on the wall. Now I was all ready to set up and style the bookshelves!

I took this opportunity to patch and touch up the paint on this wall.

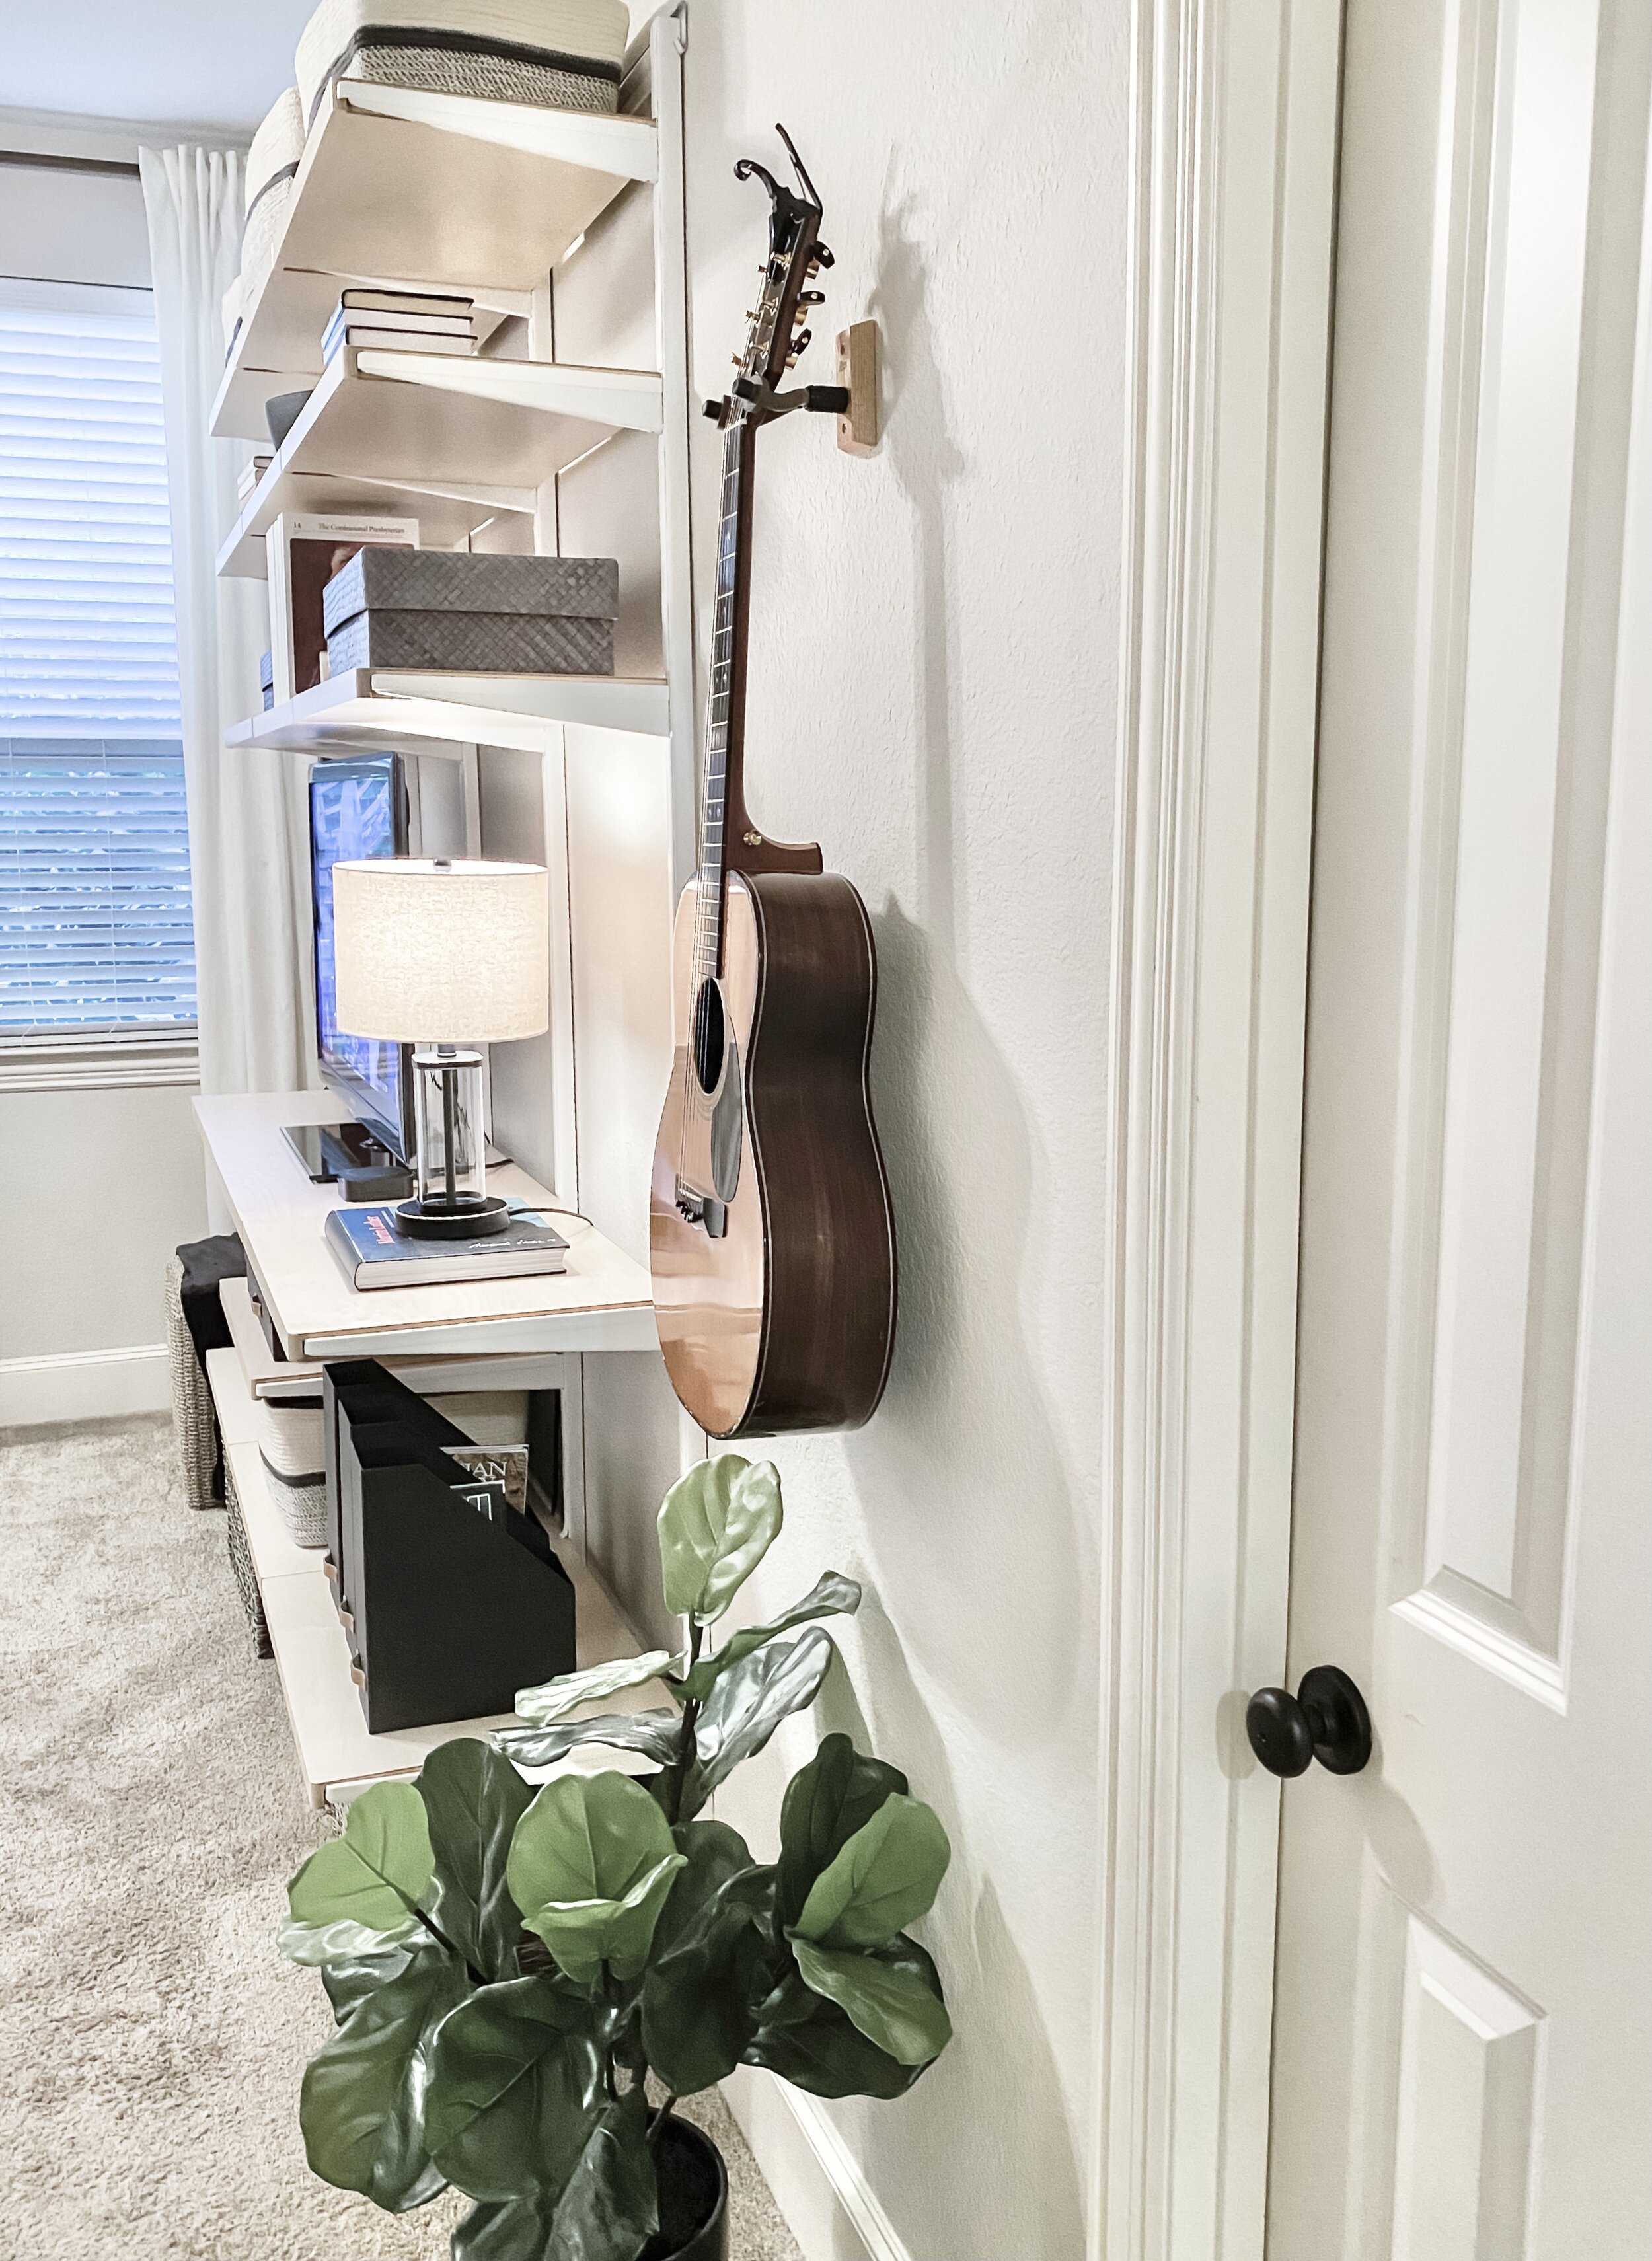
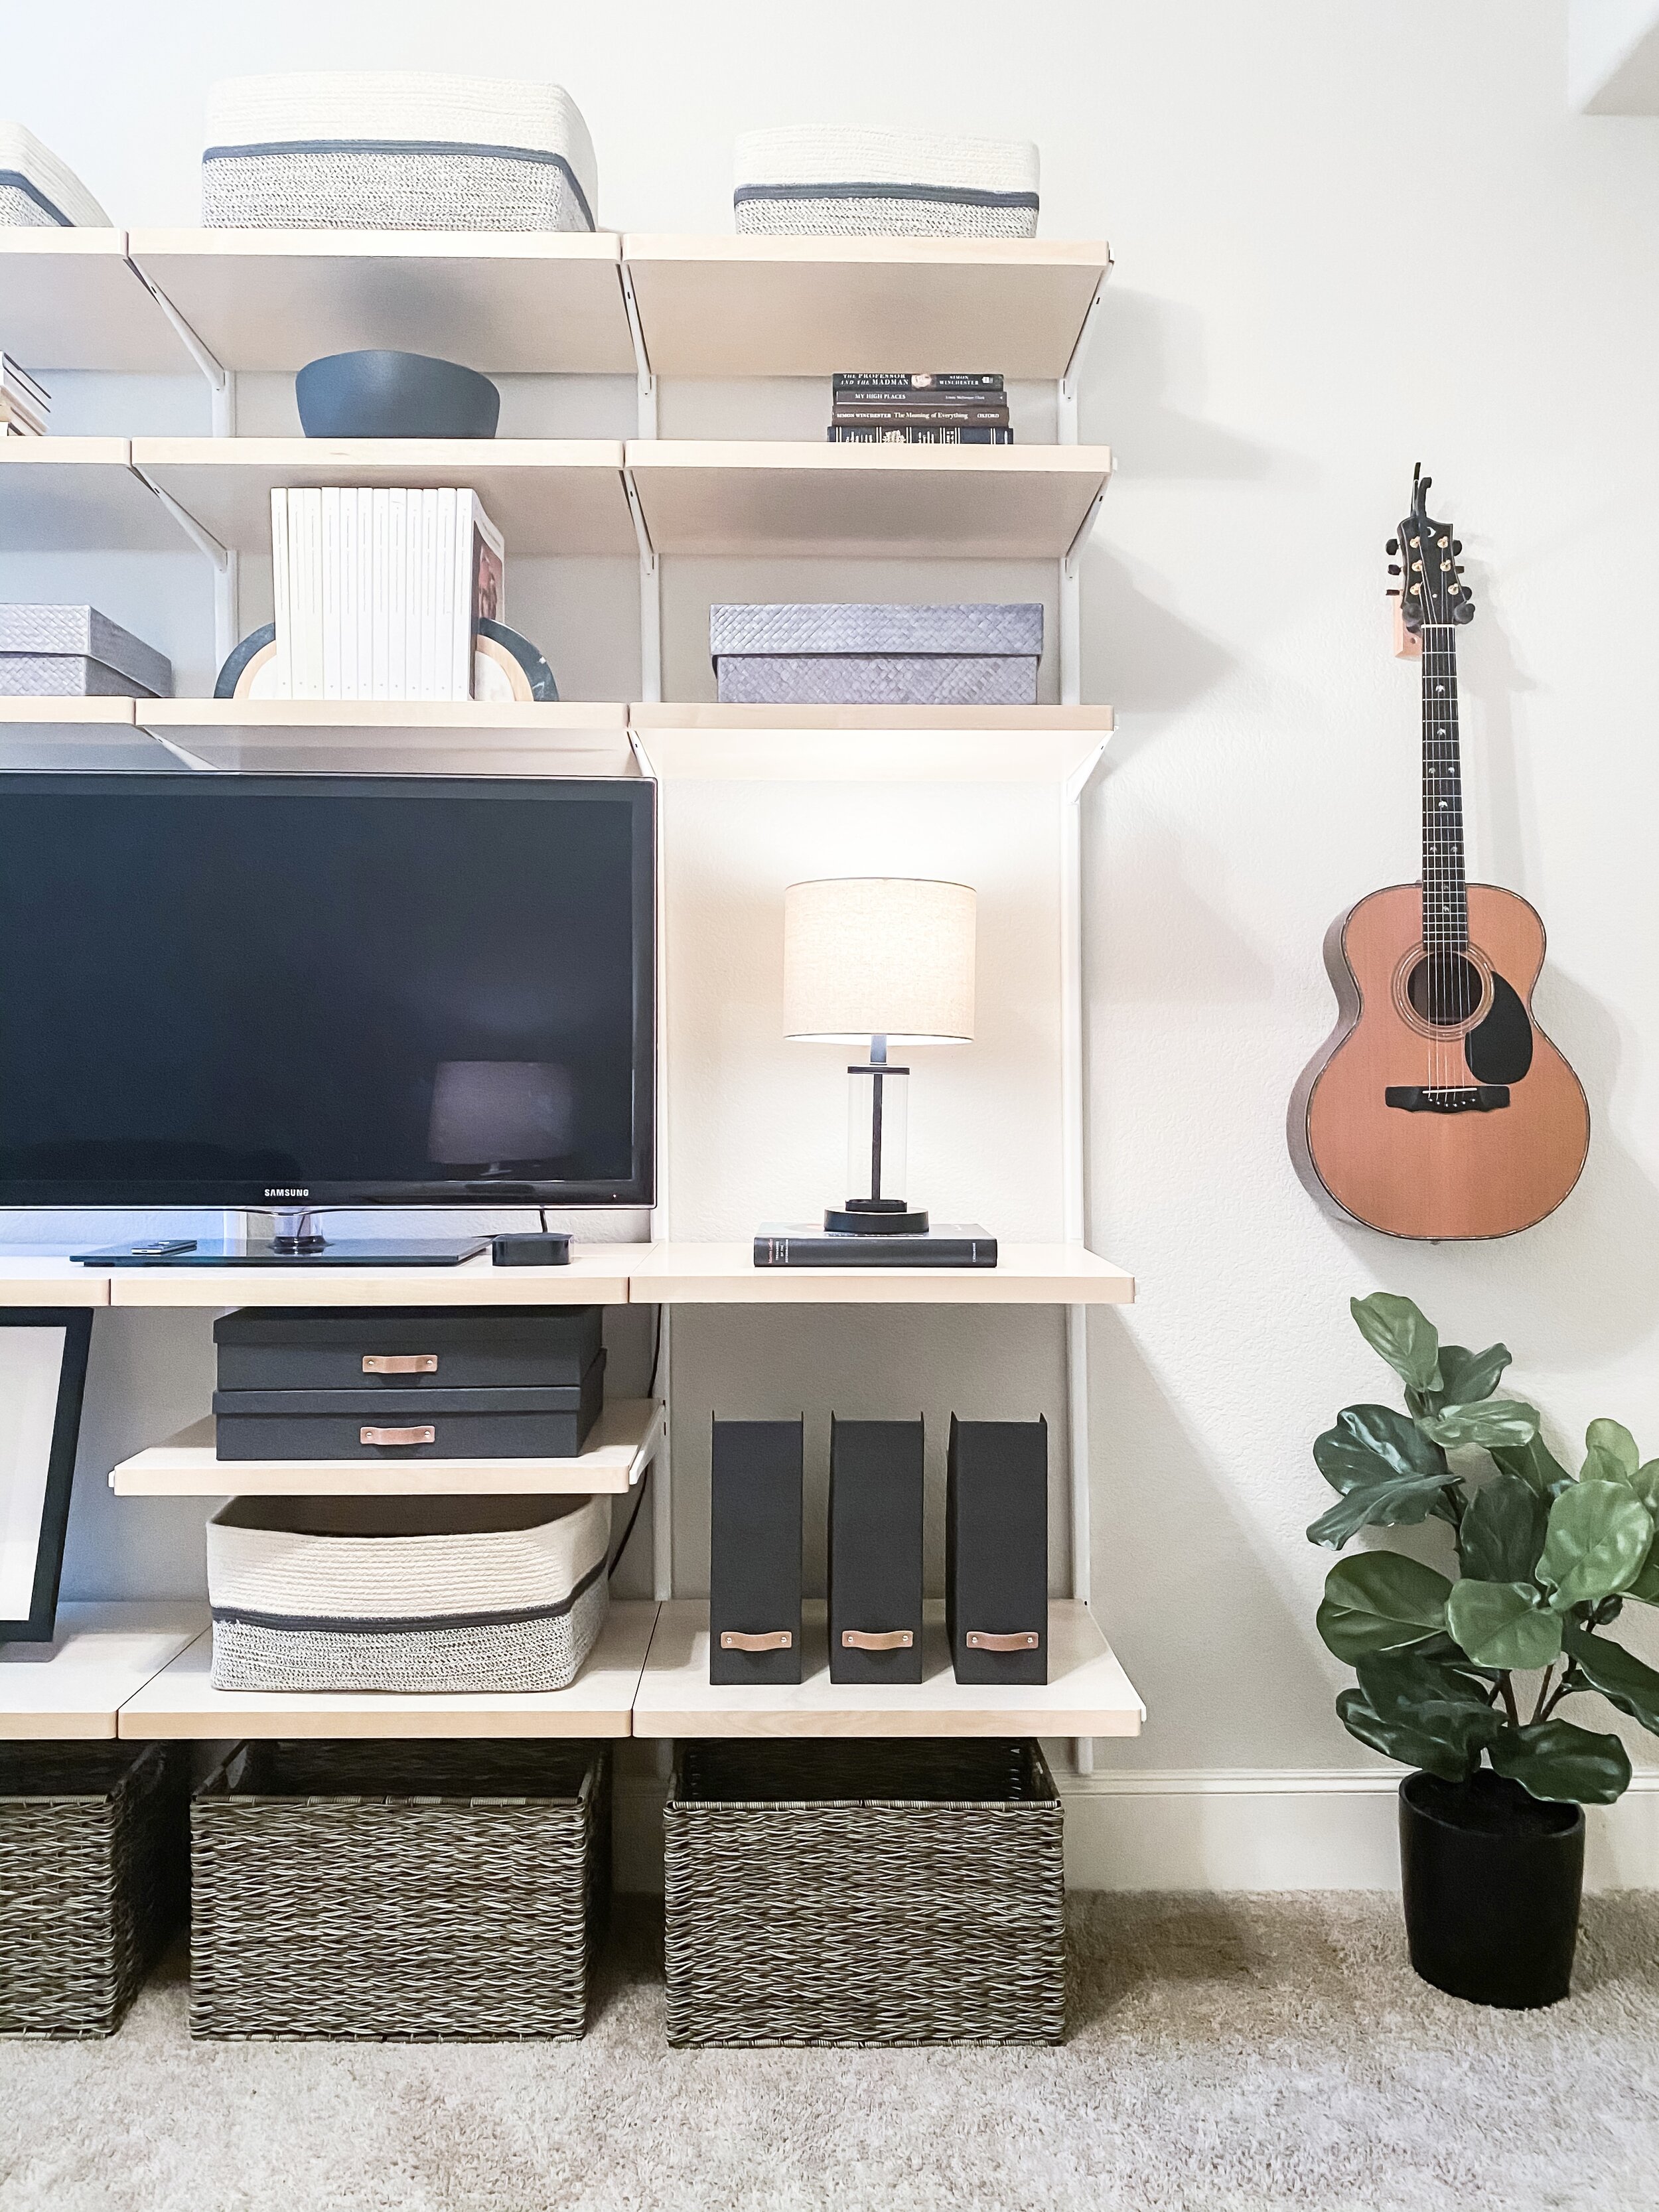
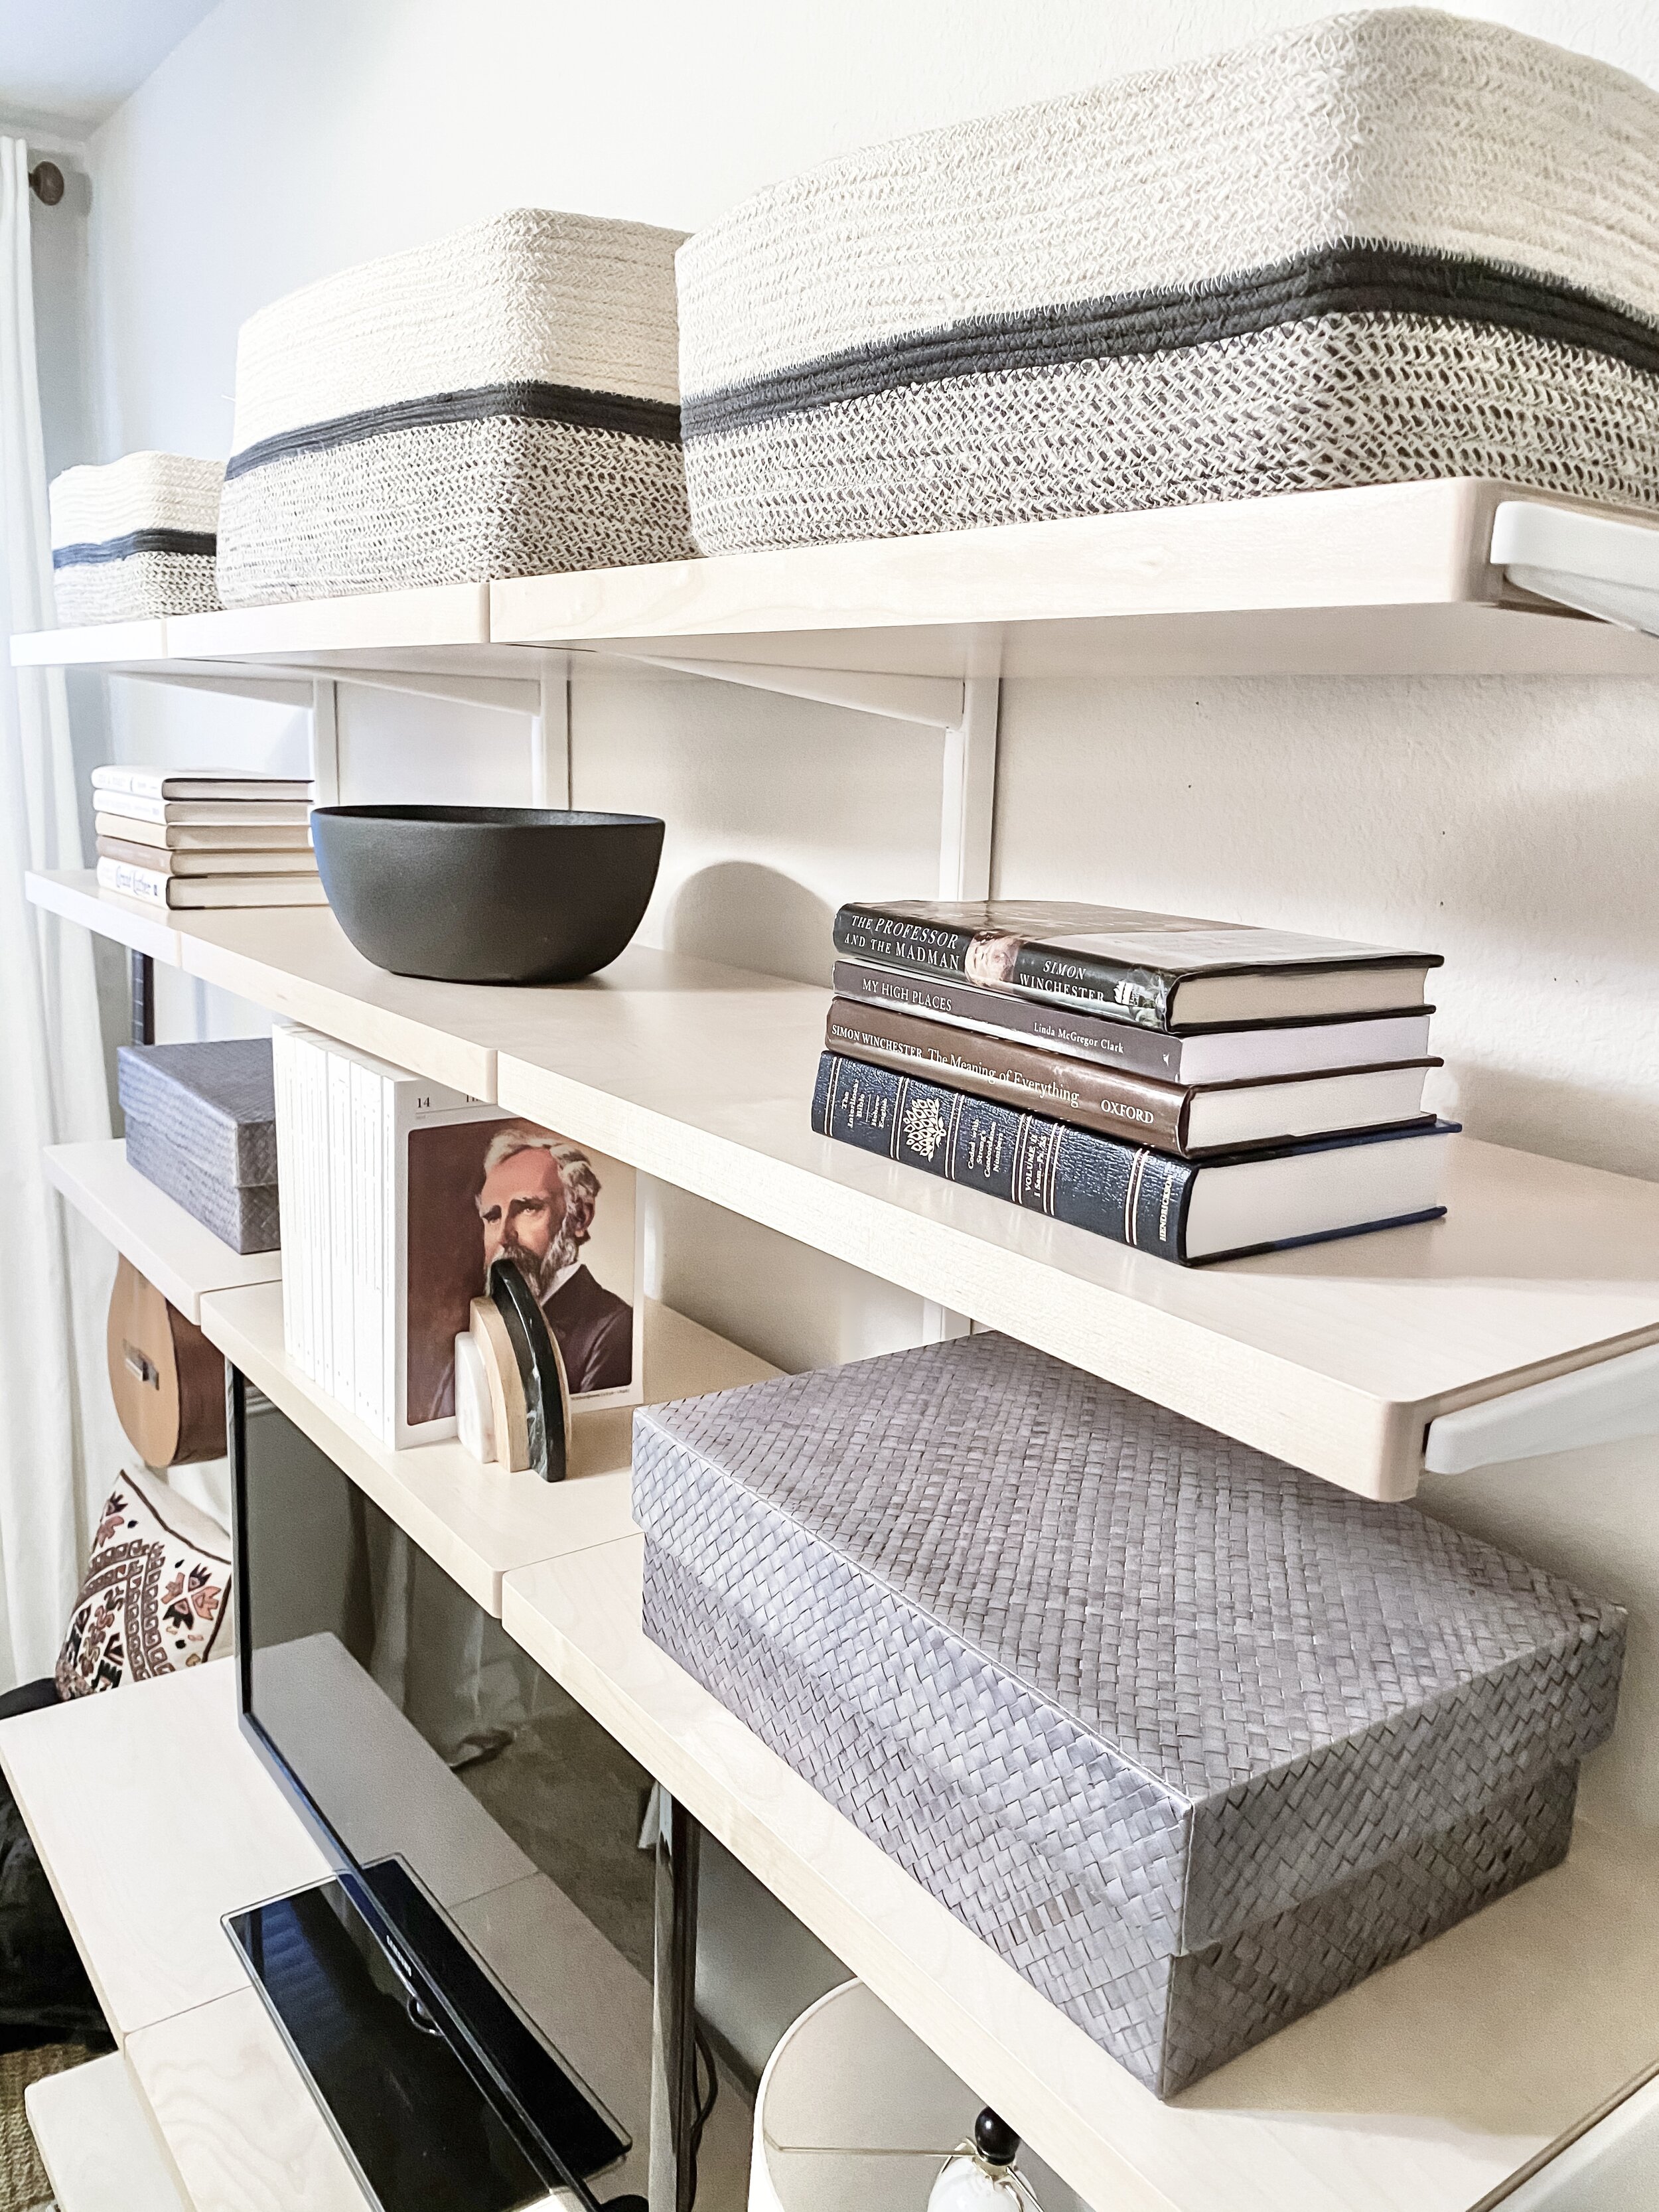
A beautiful row of birch bookcases. Baskets linked below.

I love these sturdy floor baskets to hide all the “study material” in when we have company. Linked below.

Pretty boxes and baskets to hold all the things AND hide the TV cords. I will link everything at the end for you.

I can’t believe how much this changed the room. See below for all the links. I spy Mark studying in the TV.
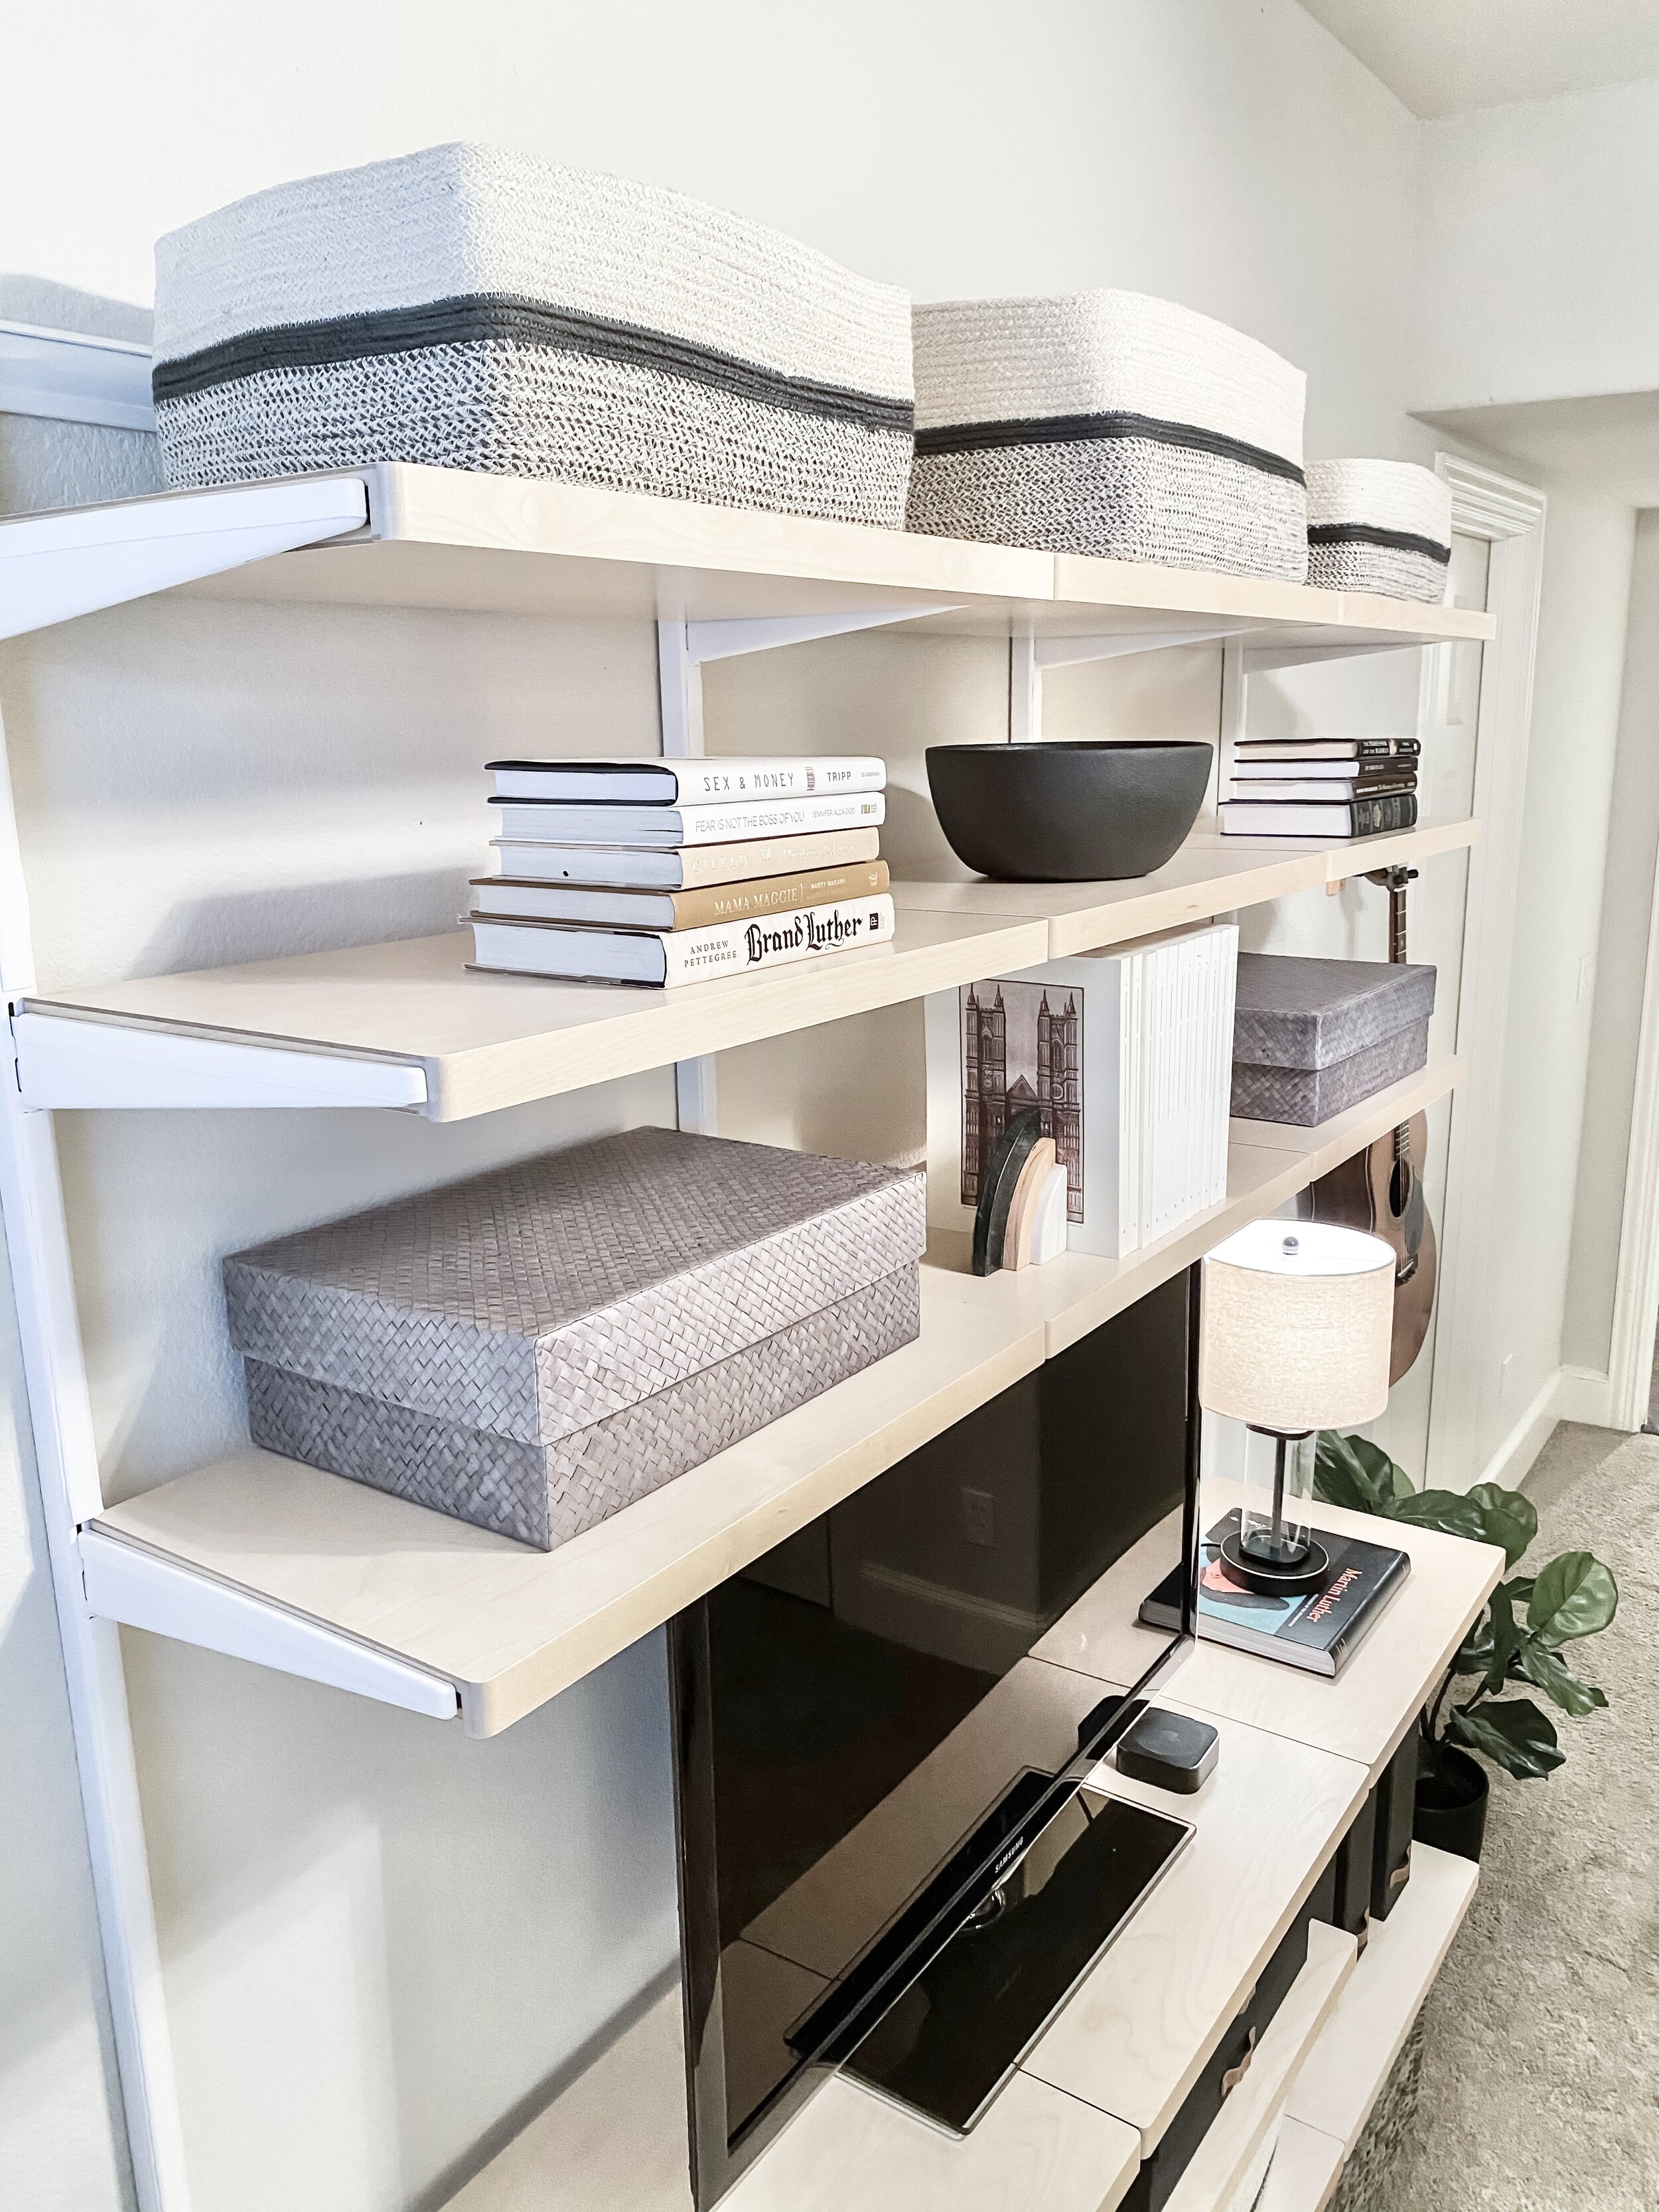
My bookshelf is 7.5 feet tall by 6 feet wide.
Can you believe this is the same room? Every time I walk in there I sit and stare a while. My husband is so happy to have a finished and cozy study room, and I even love hanging out in there now ;-).
I found these beautiful baskets, bins, and magazine holders at The Container Store to finish off the space, and added some decor pieces I had around the house to create this practical but pretty look.
Below you will find a list of all the products I used. You can purchase the bookshelf as a kit or piece it together individually to create your own custom design.
Follow along over on my IG feed to see all the behind the scenes of this room makeover. You can also follow me on FaceBook and Pinterest.
As I promised, here is a list of all the products I used to transform this room:
Elfa Bookshelf Kit {I chose the Birch color - the kit comes with the following items, except the decorative items - you can order all together, or separately below}
Separate Bookshelf Components:
Book Shelves {I used a combo of both sizes}
Shelf Brackets {be sure you choose the correct size for your shelves}
Bracket Covers {they make left and right side covers}
Decorative Items:
Ashcroft Baskets {I used three on the floor to hold current books and schoolwork}
Bigso Magazine Holder in Black
Bigso Storage Box in Black {holds all the school supplies, and hides the TV cords}
Nova Baskets {I used both sizes on the top row of shelves}
Woven Storage Boxes in grey
Well there you have it! I’d love to hear your thoughts on this fun design. You can comment below and also subscribe to follow along on my monthly projects. I promise I won’t spam you lol!
What’s on your To Do radar this year? I’d love to hear. I pray that 2021 brings you much joy and happiness….and if organization is on your radar, I’m here for you! I offer in home sessions if you are in the DFW area, and virtual sessions if you’re not! You can message me HERE to inquire about both.
Ready to help you today,
Lisa
____________________________________________________________________________________
*this project was sponsored by The Container Store * all photos, copy, and finishing design ideas are mine*